How to Guides

How to Properly Clean Your Car: Step by Step
Learn how to properly clean your car from the inside out with this step-by-step detailing guide from Stealth Supply. Covers interior, wheels, paint, drying, and tire care.
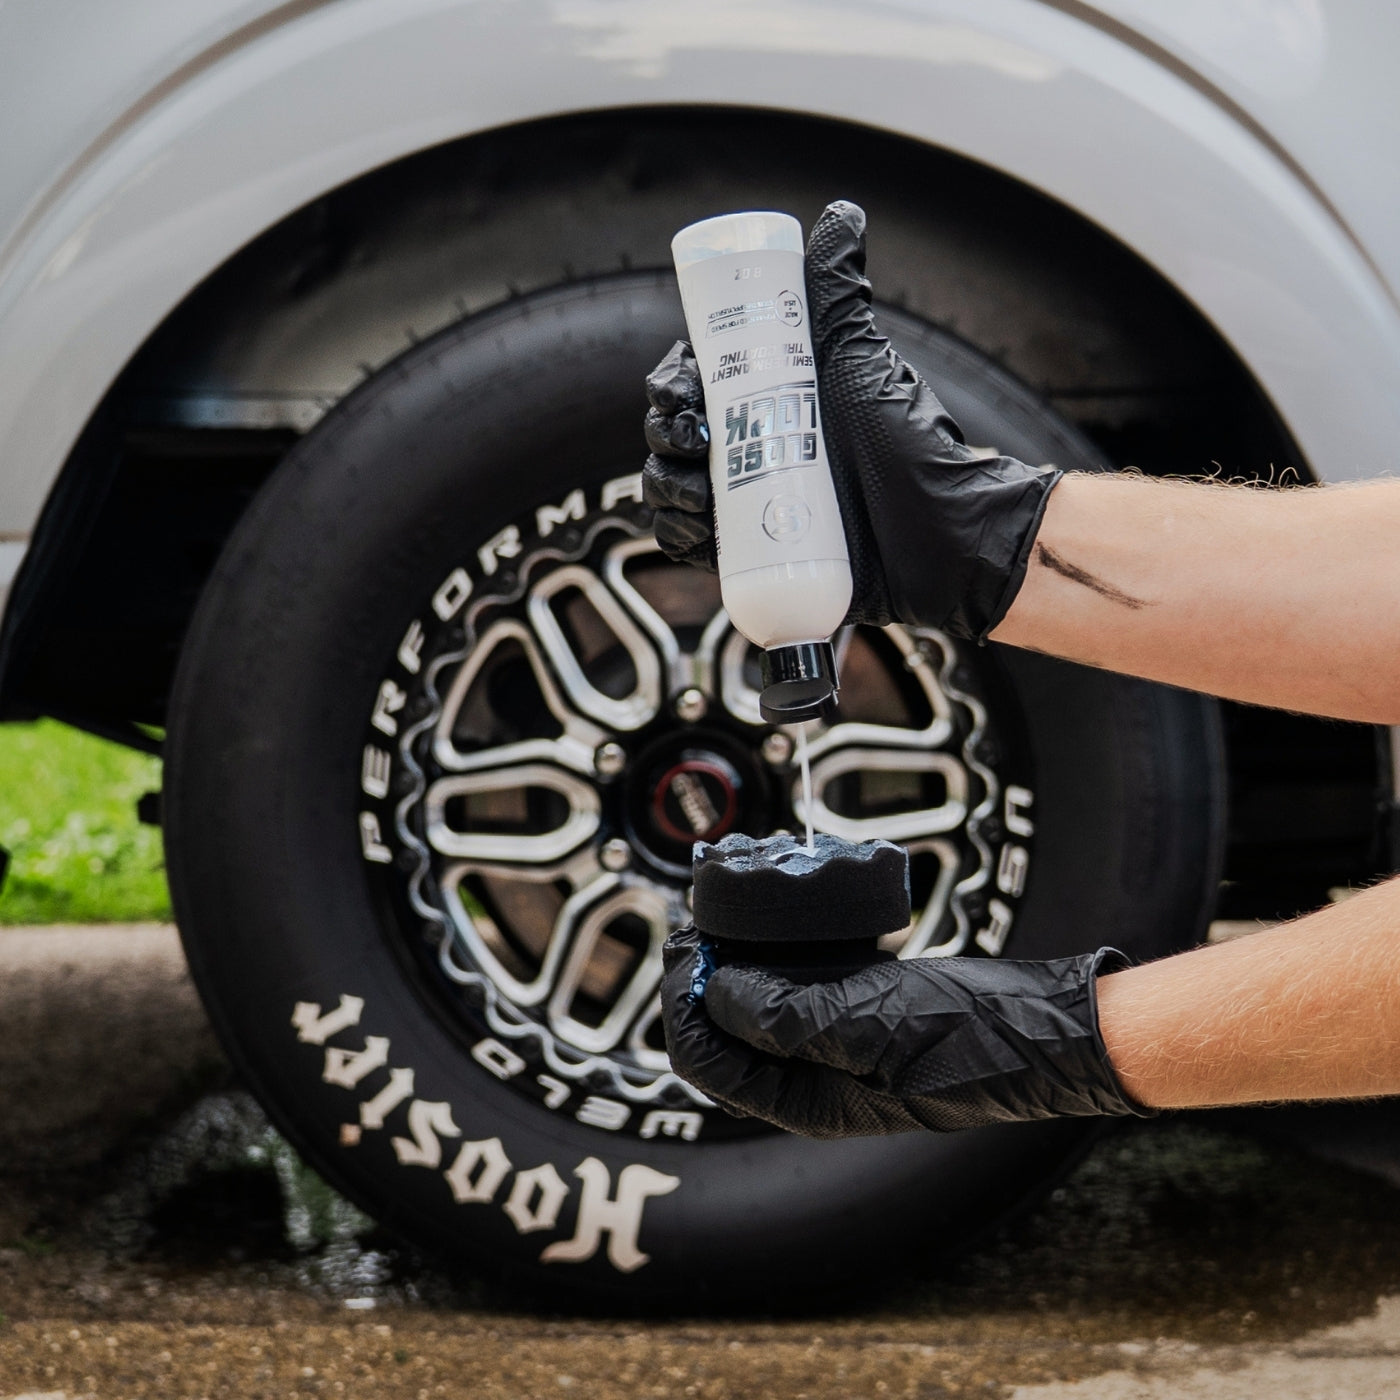
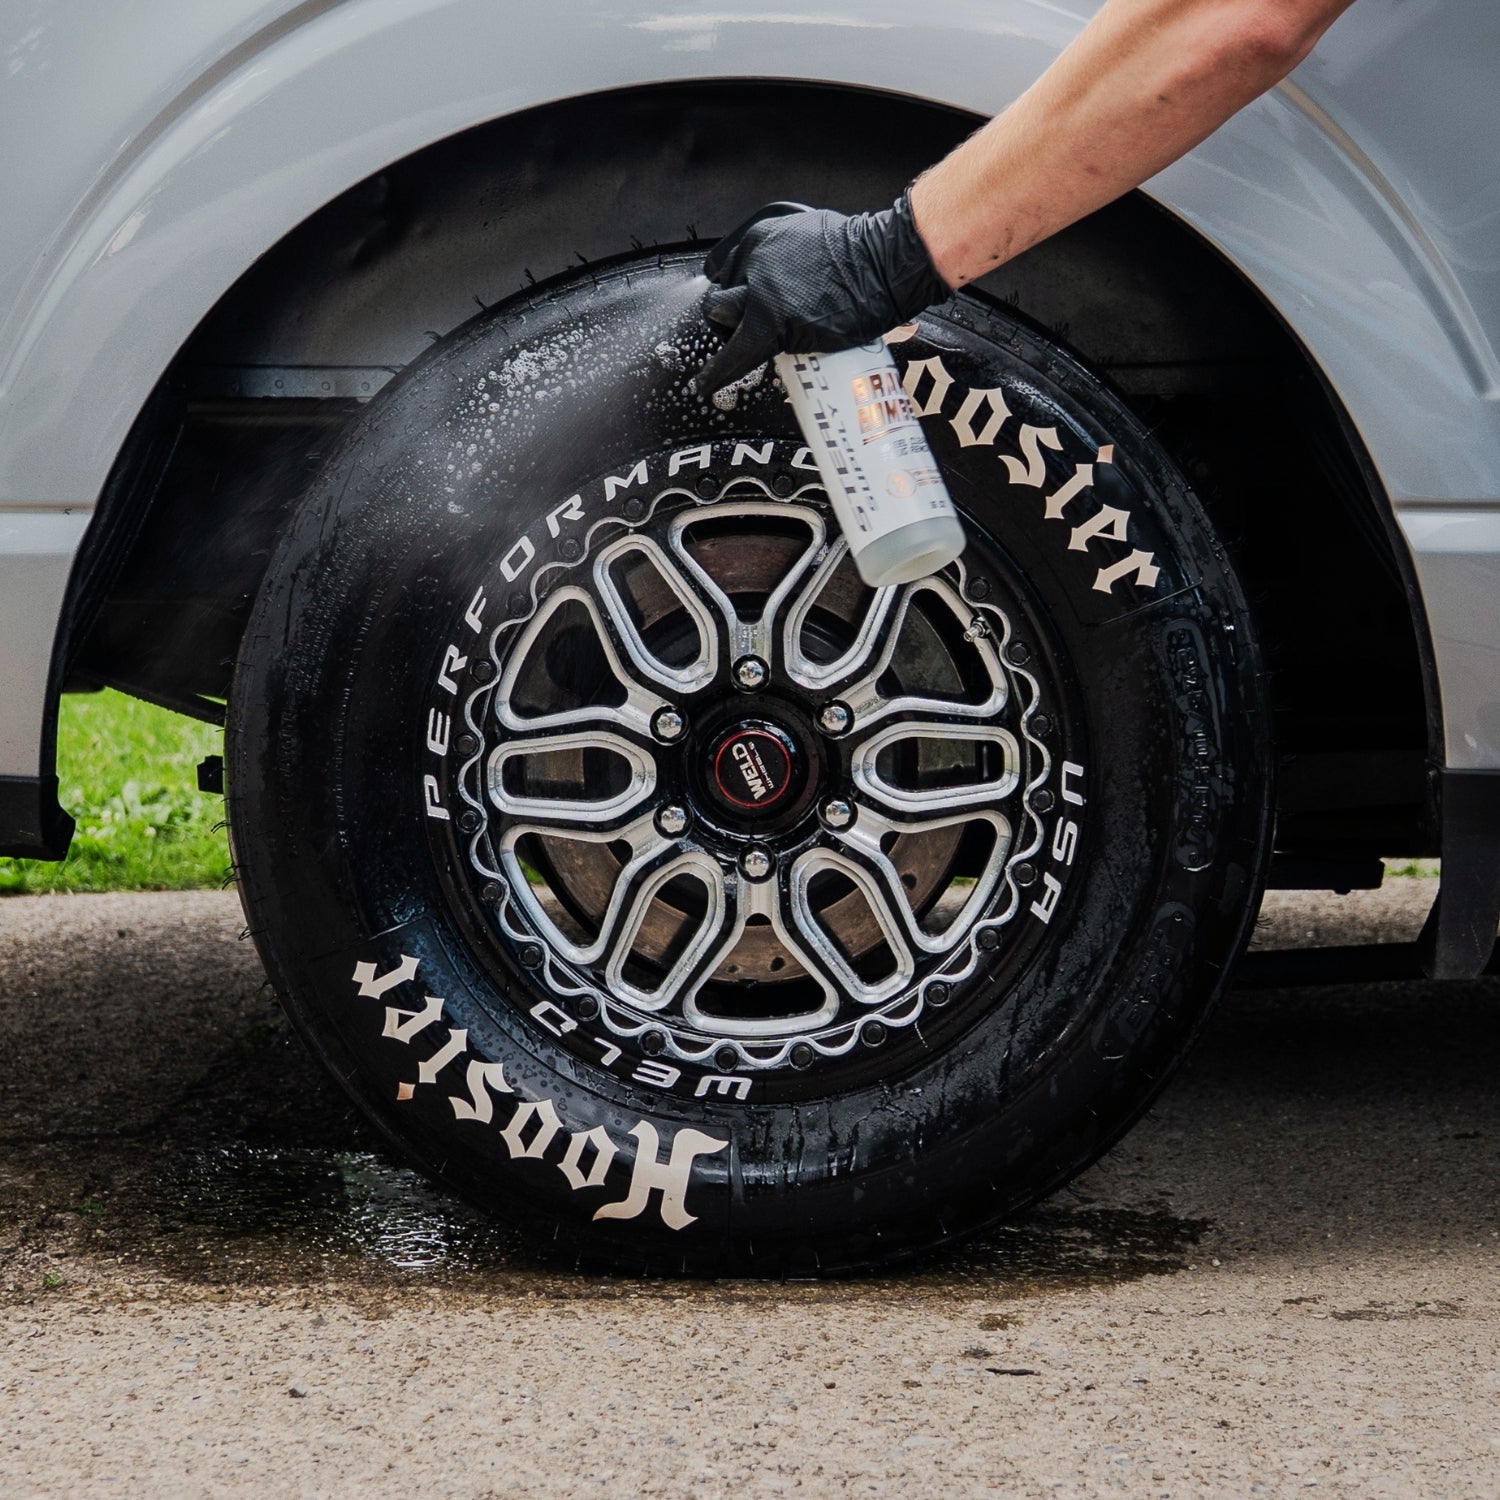
How to Prep Tires for Coating: The Complete Guide for Long-Lasting Results
How to Prep Tires for Coating: The Complete Guide for Long-Lasting Results Applying a tire coating without proper preparation is the fastest way to ruin its performance. Tire coatings are designed ...
More From Stealth
Tire Dressing vs Tire Coating: What Lasts and Why
Tire Dressing vs Tire Coating: What Lasts and Why Tire shine is easy. Tire protection is not. Many people assume all tire products do the same thing—make tires look darker. In reality, tire...

Safe Wheel Cleaning for High-End & Multi-Piece Wheels
High-end wheels demand a different approach. Forged wheels, polished aluminum, multi-piece designs, and premium finishes are not forgiving. One aggressive cleaner, one rushed wash, or one improper ...
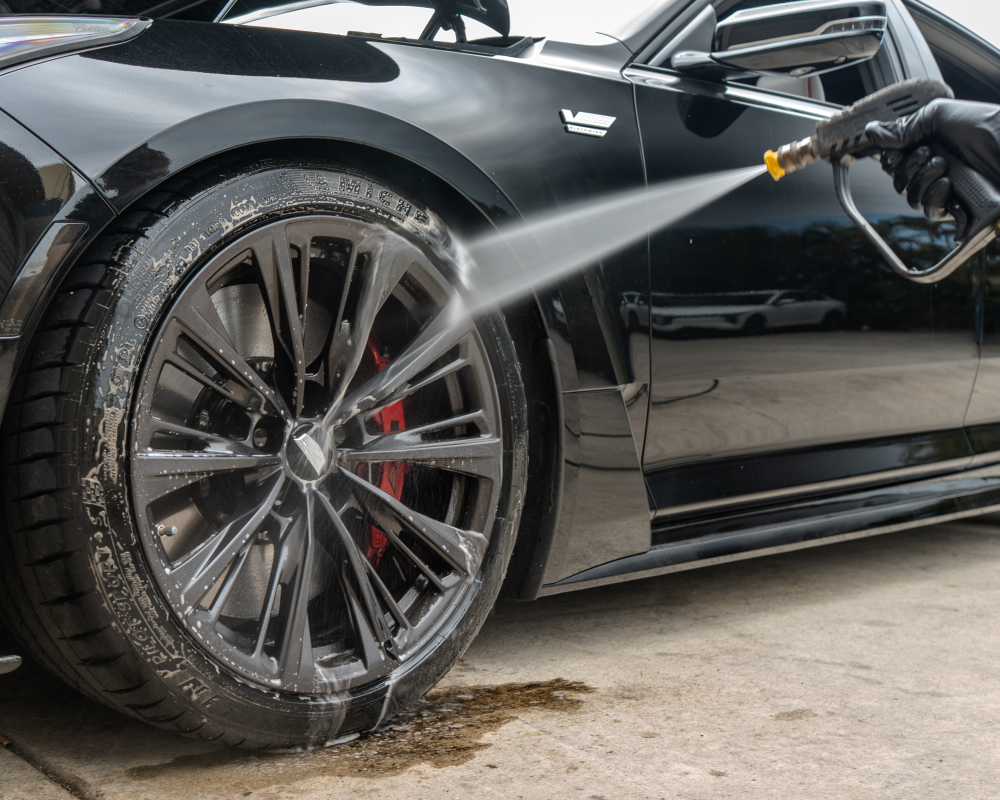
Wheel Cleaner vs Tire Cleaner: Why using one product is a mistake
Wheel Cleaner vs Tire Cleaner: Why Using One Product Is a Mistake Using one product to clean both wheels and tires may seem convenient, but it almost always leads to poor results. Wheels and tires ...