
Most people clean wheels and tires randomly.
Professionals follow a system.
Wheels and tires are exposed to the harshest conditions on a vehicle—brake dust, heat, road grime, iron contamination, rubber oxidation, oils, and environmental fallout. Treating them as an afterthought or using a single “do-it-all” product almost always leads to poor results, damage, or short-lived protection.
A proper wheel and tire cleaning system is designed to clean safely, prepare correctly, and protect effectively. This guide walks through the complete process from start to finish.
Step 1: Understand the Difference Between Wheels and Tires
Before touching any product, it’s critical to understand that wheels and tires are entirely different materials with different contamination types.
-
Wheels collect brake dust, iron particles, road salts, and traffic film.
-
Tires accumulate rubber oxidation, browning, oils, grease, and embedded grime.
Because of this, wheels and tires require separate cleaners, tools, and techniques. Using a tire cleaner on wheels (or vice versa) can reduce effectiveness and increase the risk of damage.
A professional system always treats them independently.
Step 2: Initial Rinse and Temperature Check
Start by thoroughly rinsing wheels and tires with water to remove loose dirt and cool the surface.
Never apply wheel or tire chemicals to:
-
Hot wheels
-
Hot brakes
-
Surfaces in direct sunlight
Heat causes cleaners to flash dry, reducing performance and increasing the chance of staining or etching.
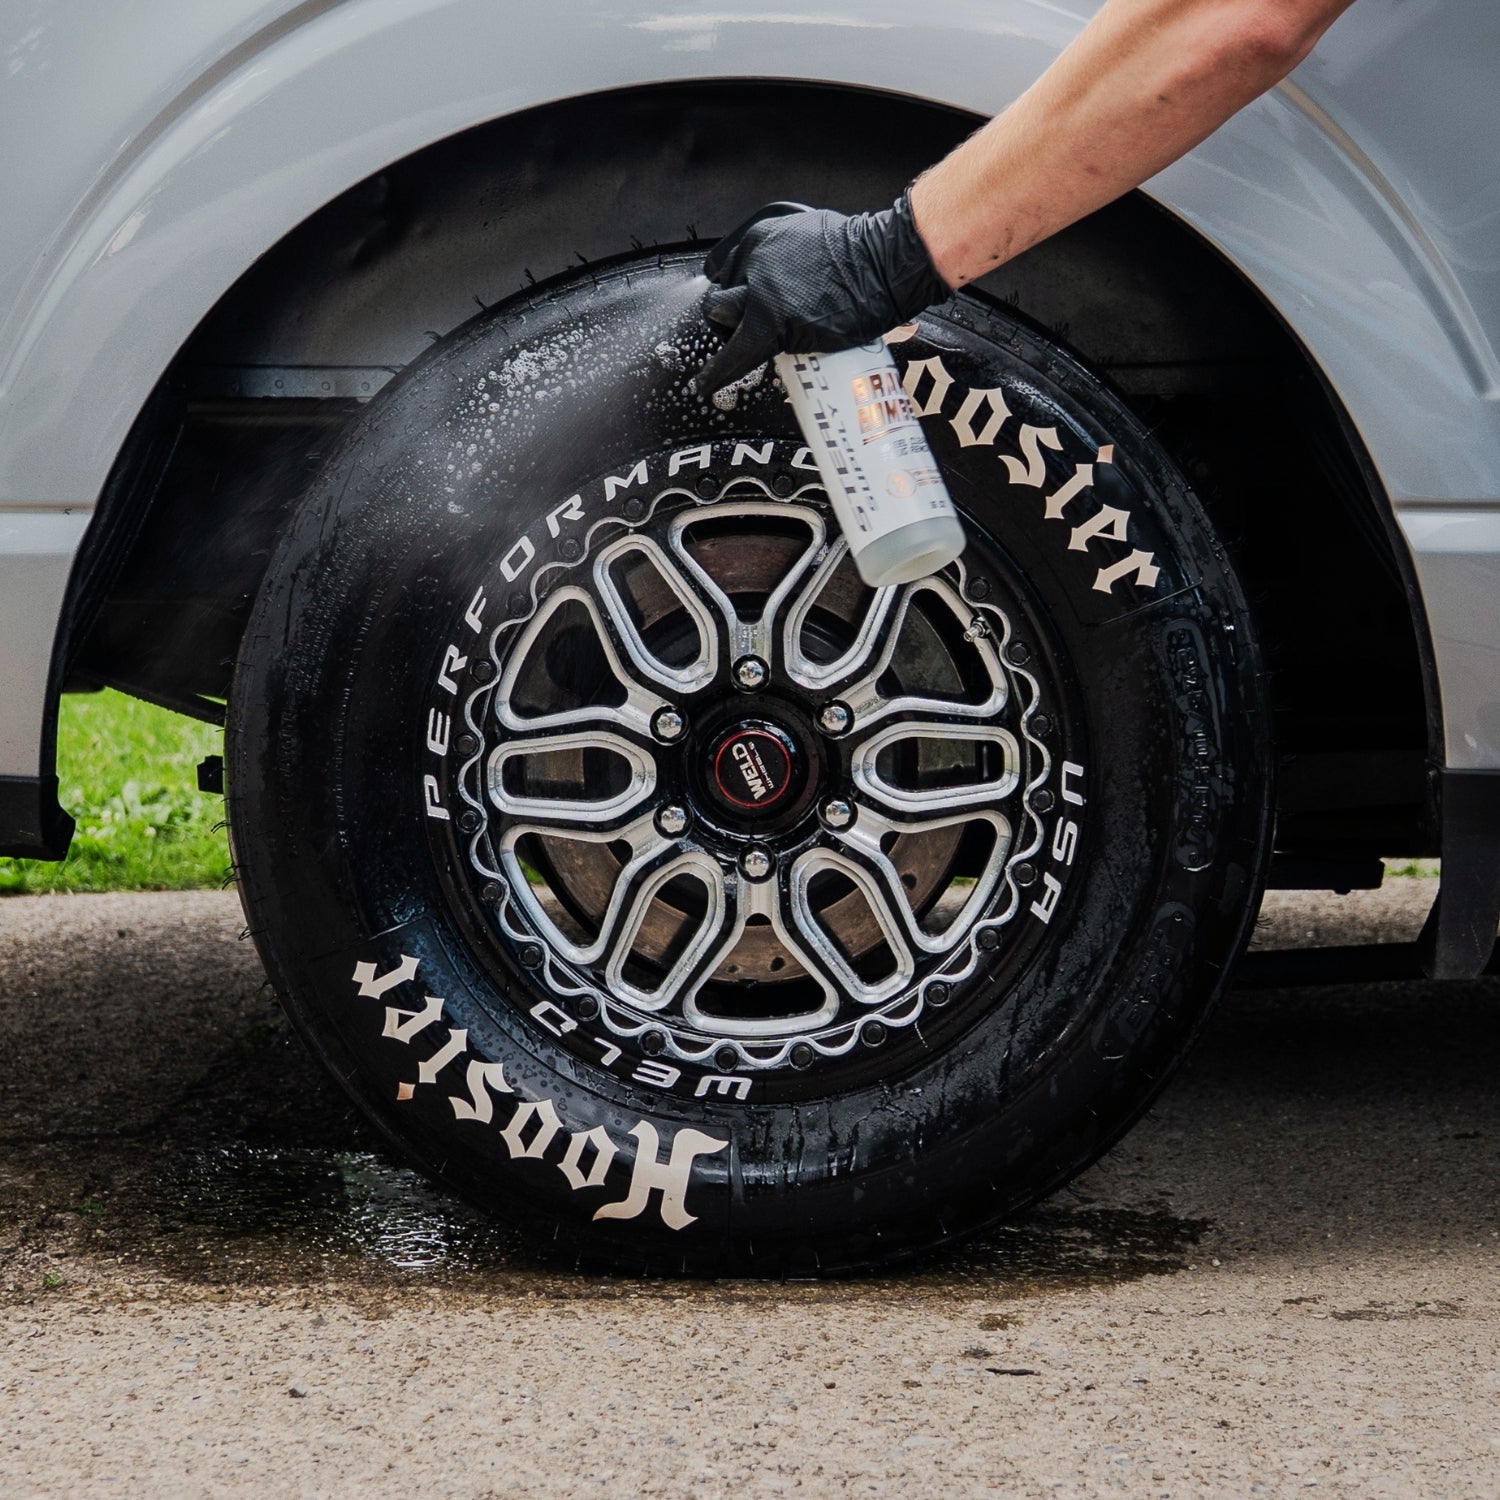
Step 3: Wheel Cleaning (Chemical First, Mechanical Second)
Wheel cleaning should always begin with chemical decontamination, followed by gentle agitation if needed.
Apply a Dedicated Wheel Cleaner
A proper wheel cleaner is designed to:
-
Break down brake dust
-
Dissolve iron contamination
-
Lift road film without damaging finishes
High-performance wheel cleaners may incorporate iron-reactive technology, while ultra-safe versions prioritize maximum surface safety for high-end or multi-piece wheels.
Agitation (Only If Necessary)
Use soft, wheel-safe brushes to clean:
-
Wheel faces
-
Spokes
-
Lug areas
-
Barrels (with a barrel brush)
The goal is minimum agitation for maximum results. If aggressive scrubbing is required, the chemistry isn’t doing enough of the work.
Rinse Thoroughly
Rinse all wheel surfaces completely, ensuring no chemical residue remains.
Step 4: Tire Cleaning (The Most Skipped Step)
Tire cleaning is where most results are lost.
A tire that looks “clean” often isn’t actually clean. Browning, old dressings, and road oils can remain embedded in the rubber.
Use a Dedicated Tire Cleaner
A proper tire cleaner is formulated to:
-
Remove oxidation and browning
-
Strip old silicone dressings
-
Deep clean the rubber surface
Apply the cleaner generously and allow it to dwell briefly.
Scrub Until the Foam Is White
Agitate with a stiff tire brush. If the foam turns brown, the tire is still dirty.
Repeat the process until the foam remains white. This step ensures the tire is fully prepped for protection.
Rinse Completely
Rinse thoroughly to remove all residue.
Step 5: Secondary Wheel Safety Pass (Optional but Recommended)
For high-end wheels, polished finishes, or multi-piece setups, a secondary pass with a super-safe wheel cleaner can be used after the primary cleaning stage.
This ensures:
-
Zero chemical residue
-
Maximum surface safety
-
Confidence before protection
This step is especially important for expensive wheels where risk tolerance is low.
Step 6: Drying the Wheels and Tires
Drying prevents:
-
Water spotting
-
Mineral deposits
-
Streaking
Use clean microfiber towels dedicated solely to wheels and tires. Avoid cross-contaminating with paint towels.
Compressed air or blowers can be used to remove water from lug holes and crevices.
Step 7: Tire Protection (Dressing or Coating)
Once the tire is fully clean and dry, protection can be applied.
Tire Creams or Gels
-
Adjustable finish (satin to gloss)
-
Ideal for routine maintenance
-
Shorter durability
Apply evenly with a tire applicator and allow it to level naturally.
Semi-Permanent Tire Coatings
-
Long-lasting protection (2–3 months)
-
Repels dirt and water
-
Reduces future browning
Coatings require proper prep and precise application but deliver significantly longer results.
Step 8: Wheel Protection (Optional but Valuable)
Protecting wheels helps:
-
Reduce brake dust adhesion
-
Make future cleaning easier
-
Preserve finishes long term
Depending on preference, this can range from spray protection to dedicated wheel coatings.
Step 9: Maintenance and Long-Term Care
A proper system doesn’t end after one wash.
Maintained wheels and tires:
-
Clean faster
-
Require less chemical
-
Look better for longer
-
Suffer less long-term damage
Routine maintenance washes should focus on gentle cleaning rather than aggressive correction.
Why a System Always Wins
A complete wheel and tire cleaning system delivers:
-
Better results
-
Increased safety
-
Longer-lasting protection
-
A more professional experience
Random products create inconsistent outcomes. Systems create repeatable excellence.
This is the difference between cleaning wheels and properly caring for them.


Leave a comment
All comments are moderated before being published.
This site is protected by hCaptcha and the hCaptcha Privacy Policy and Terms of Service apply.